Lemon Ricotta Tart
If you have seen some of my other recipes, you know my love affair with lemons. I love lemon anything. Be it in savory or sweet dishes, anything with lemon is sure to go well with me. This recipe for lemon ricotta tart is a family favorite because it’s very easy to prepare, there’s no pre-baking of the crust and the filling literally takes less than five minutes to put together. Plus, the main ingredient is ricotta, another family favorite. And with Easter right around the corner, it’s time to get back to baking after a little break since the Christmas holidays!
The hardest part of this tart, if you can call it “hard,” is the rolling out the dough and carefully adding it to the pan. The key with that is making sure you have a reasonably cold crust. I refrigerate the crust for a minimum of 1 hour, but you could certainly let it go longer. Prep the crust in the morning, run a few errands and bake the tart upon returning home. The other key step is making sure you don’t over-beat the filling. With four eggs in the mix, this can easily go from just right, to a watery, soupy mixture in no time, so just make sure to not over-beat it. If you have extra large eggs, go down to just using three.
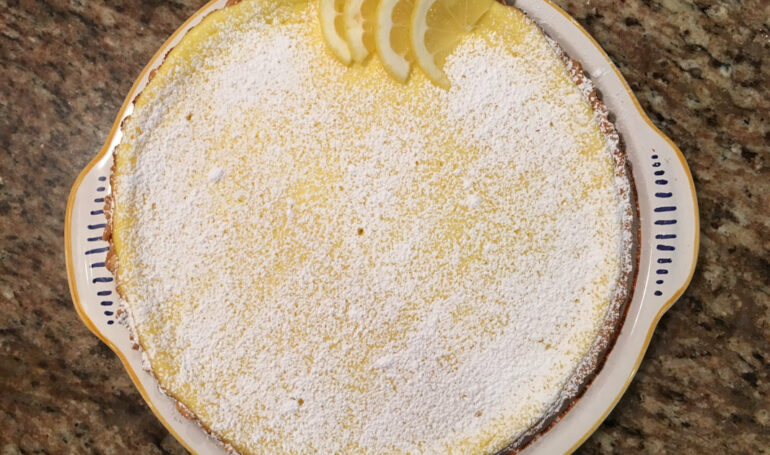
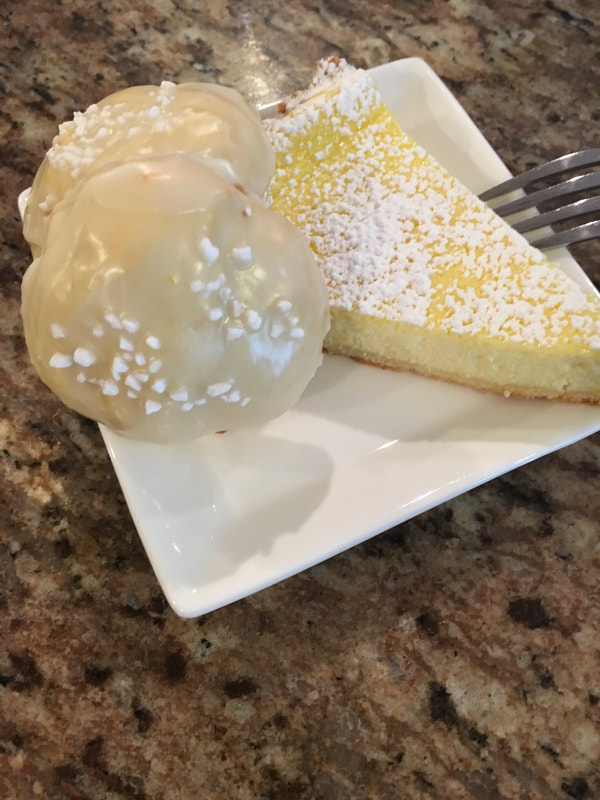
I decorate it very plainly with just a few lemon slices and some powdered sugar. You could add strawberries, blueberries or some whipped cream just upon serving. It’s wonderful eaten within the same day it’s prepared, but if you don’t serve the entire tart at once, this lemon ricotta tart needs to be refrigerated.

Picture Credit: Lazy Italian Culinary Adventures.
Ingredients for the Crust
1 cup all purpose flour
3 tablespoons granulated sugar
¼ teaspoon baking powder
Zest of 1 organic lemon
1/8 teaspoon salt
4 tablespoons unsalted butter, cold and cut up in dices
1 large egg, lightly beaten
Ingredients for the Filling
1 (15 oz) container whole milk ricotta (if the ricotta is watery, drain it for 15 minutes)
¼ cup granulated sugar
1 tablespoon limoncello liquor (optional)
Zest of 1 organic lemon
4 large eggs
Instructions for the Crust
- In a food processor combine the flour, sugar, baking powder, zest and salt and pulse a few times, quickly.
- Add the pieces of cold butter and again quickly pulse a few times, until the mixture looks like coarse ground meal.
- Add the egg and again pulse quickly until the dough starts coming together.
- Turn the dough on a lightly floured surface, form into a smooth disc, wrap in plastic wrap and place in the refrigerator for at least 1 hour. (During the last 5 – 10 minutes of the refrigerated time, begin preparing the filling.)
Instructions for the Filling:
- Add the ricotta to the mixing bowl of a stand mixer. Alternatively, you can use a hand-held mixer, and beat the ricotta on low speed for just about 20 – 30 seconds. Do not overbeat or ricotta will turn watery.
- Add the sugar, and if you are using, add the limoncello. Continue to beat for an additional 20 – 30 seconds, just until incorporated. Add the lemon zest.
- With the mixer still on the lowest setting, add the eggs, one at a time, making sure the previous egg is incorporated before adding the next egg. Scraping down the sides of the bowl occasionally. Mix just until combined. Finish mixing with a spatula if you see yellow streaks of the eggs. (It’s important to not over-mix the filling.)
Assembly:
- Preheat oven to 350 degrees. Spray a 10-inch or 12-inch round pan with non-stick cooking spray. (I prefer using a tart pan with a removable bottom.)
- On a lightly floured surface, using a rolling pin, roll out the dough into a circle about 1/8 of an inch in thickness. Fold the circle in half, then in quarters and carefully add it to pan, unfolding to cover the entire surface. Remove any access crust from around the pan. Dock the pan with a fork several times to prevent air bubbles while baking.
- Pour the prepared filling. Bake for about 38 – 42 minutes or until the center of the filling is firm. Remove from the oven and cool completely before removing from the pan. Tart can be served immediately after cooling, or refrigerated until served.

Picture Credit: Lazy Italian Culinary Adventures.
Post Updated: December 17, 2024
Leave a Reply

What to Pack for Italy
Cosa Mettere in Valigia per l'Italia
Everyone is always asking me what they should pack for Italy,
so I’ve created a quick reference guide that you can use for your next trip.
Hint: You don’t need nearly as much as you think you do!

3 Comments
again, YUM
So delicious! My family loved it!
So glad you make it!